My "Be My Valentine Garland"
is a simple way to use a few of your
favorite Valentine fat quarters.
It is simple to make because
I have used my own version of
a raw edge applique technique.
Supplies Needed:
Scrap piece of freezer paper
1/4 Yard of Pellon Interfacing. I used a thicker Interfacing.
1/3 Yard of Moda Bella Solid Betty Brown SKU#9900-125
Cutting:
Cut (1) 5" X 5" square from the freezer paper
From each of the DARK fat quarters, cut (2) 7 1/2" X 20 1/2" rectangles. You will need a total of (10) 7 1/2" X 20 1/2" rectangles.
From each of the Light colored fat quarters, cut (1) 5 1/2" X 18 1/2" rectangle. Choose one of your favorite light colored fat quarters, and cut an extra 5 1/2" X 18 1/2" rectangle. You will need a TOTAL of (4) 5 1/2" X 18 1/2" rectangles.
From the Pellon Interfacing, cut (4) 5 1/2" X 18 1/2" rectangles.
From the Bella Solid Betty Brown, cut (4) 3" X Width Of Fabric (WOF) strips.
Construction:
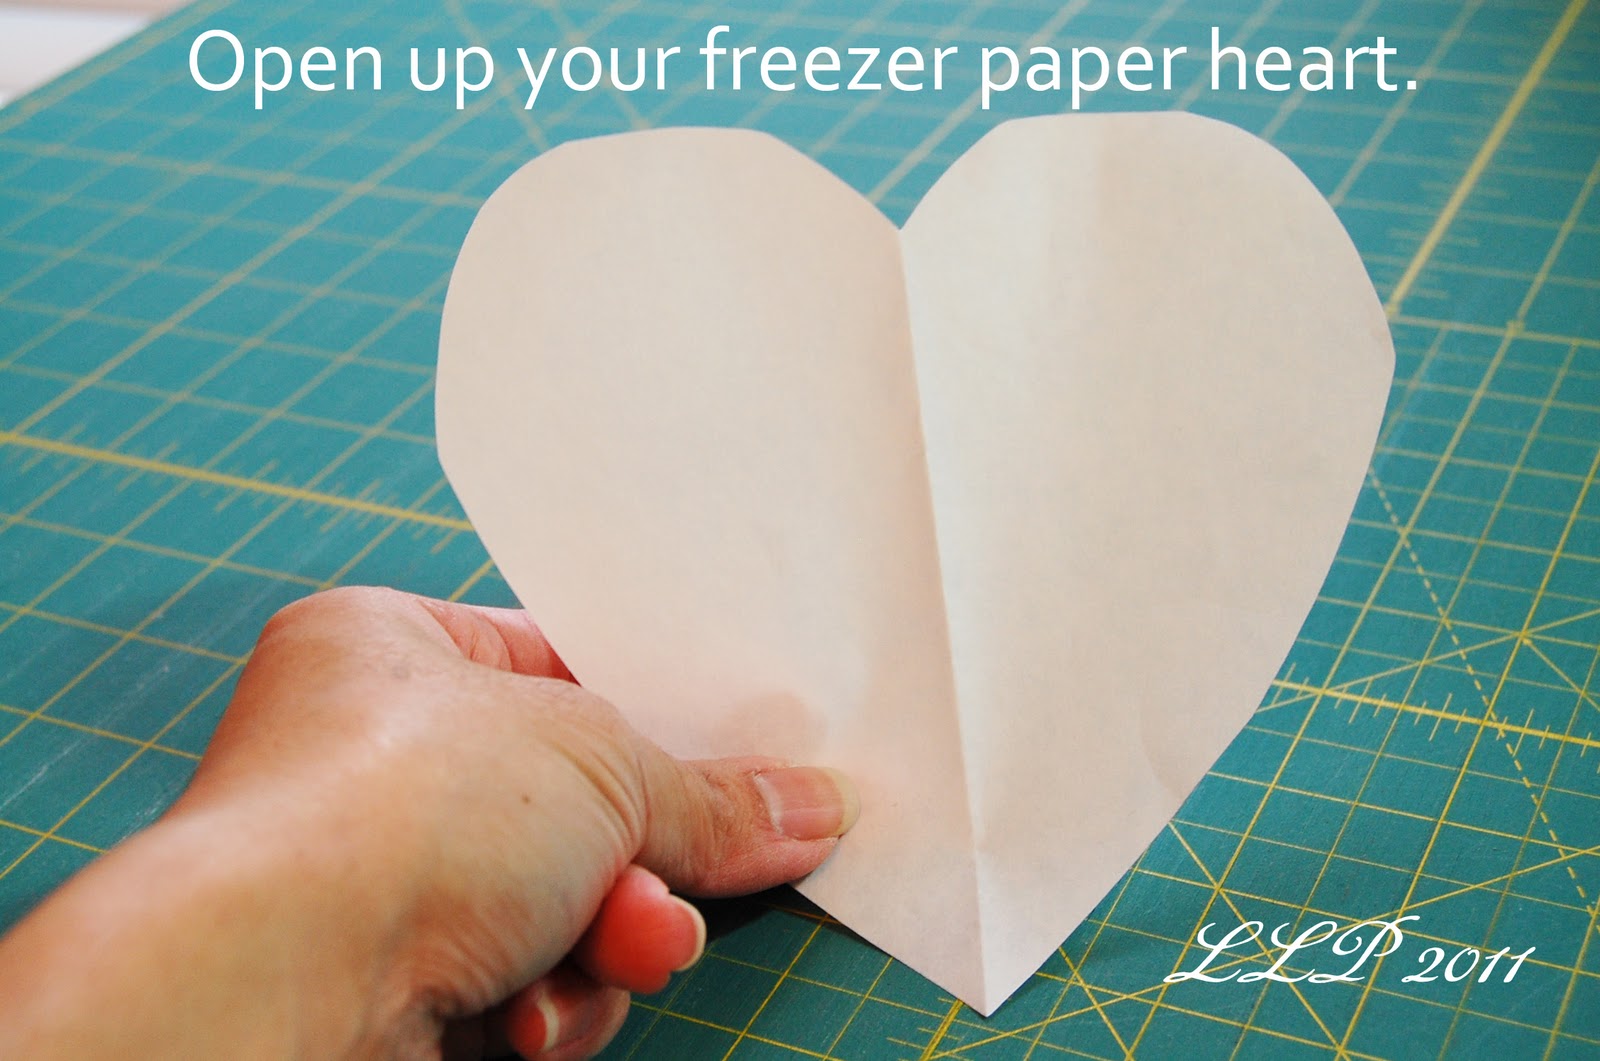
Step 1: Make the heart template
Take 5" X 5" freezer paper square and fold it in half.
On the dull side of the freezer paper,draw half of a heart. Don't worry about making it too perfect!
Cut on the drawn line.
Open up your freezer paper heart.
Step 2:
Following the manufacturer's directions, adhere the Pellon Interfacing to the wrong side of a light colored 5 1/2" X 18 1/2" rectangle.
Repeat for all (4) 5 1/2" X 18 1/2" rectangles.
Step 3:
Place your freezer paper heart on top of the fabric side of the 5 1/2" X 18 1/2" rectangle.
Make sure that the dull side of the heart is facing up!
With a cool iron, iron the heart down in place.
Step 4:
- Using a pencil or fabric marking pen, trace the heart onto the fabric.
Step 5:
Step 6:
- With the dull side facing up, place the freezer paper heart next to the drawn heart.
- Iron in place.
- Remove heart.
- Repeat until you have (10) hearts drawn.
Step 7:
Step 8:
- Fold the 7 1/2" X 20 1/2" rectangle in half.
- Press to create a crease.
- Fold the rectangle in half again.
- Press to create another crease. This will create a grid which will help you line up all of your hearts.
- Open up the piece of fabric.
Step 9:
Place your heart on top of the 7 1/2" X 20 1/2" rectangle.
Place the bottom tip of the heart 1 1/4" above the horizontal crease that you created.
Use the vertical crease to line up the top of your heart. I placed the "dip: in the top of the heart on the vertical crease.
- Pin the heart in place.
Step 10:
Using a 1/4" seam allowance, sew around the edge of the heart.
Tip: I increased the stitch length to 3.0. I also used my walking foot because of the thickness of the heart/Pellon Interfacing. Also S-L-O-W down when you are sewing the heart. It really does help to made the rounded corners of the heart!
Another option would be to use a blanket stitch.
Step 11:
With Right Sides Together (RST), fold 7 1/2" X 20 1/2" rectangle in half.
Give it a quick press with the iron to reset your crease.
Using a 1/4" seam allowance, sew along the left and right side of the rectangle.
Leave the top open.
Step 12:
Step 13:
Step 14:
Step 15:
With RST, sew (2) Bella Solid Betty Brown 3" X WOF strips together.
Press the seams open.
Repeat for the other (2) Bella Solid Betty Brown 3" X WOF strips.
Step 16:
- With RST, sew the (2) Bella Solid Betty Brown strips together to create one long strip.
- Press the seams open.
Step 17:
- Fold the top half of the strips over (about 1/2") toward the middle of the strip.
- Press down the entire length of the strip.
- Fold the bottom of the strip over (about 1/2") toward the middle of the strip.
- Press down the entire length of the strip.
Step 18:
- Fold the strip in half again.
- Press down the entire length of the strip.
Step 19:
- Begin pinning down the Bella Solid Betty Brown strip.
- Slide your heart pendant in between the fold of the Bella Solid Betty Brown strip.
- Measure in about 30" from the start of your strip before you start to place your heart pendants. This will allow you to have plenty of room at the start & end of garland. This is helpful when you are trying to hang up your Be My Valentine Garland.
- I left about 1/4" gap in between each heart pendant.
Step 20:
- Stitch down the center of the Bella Sold Betty Brown fabric strip.
Your Be My Valentine Garland in now complete!
To enter the giveaway for the
$50 gift certificate
to Fat Quarter Shop,
please leave a comment on this post.
A winner will be drawn
on Sunday, January 16, 2011.
Remember, in order to be
eligible for the $100 gift certificate
to the Fat Quarter Shop
you must enter all of the
giveaways along the blog tour!
Until Next Time ... Happy Quilting!

.jpg)


.jpg)