

My "Be My Valentine Garland"
is a simple way to use a few of your
favorite Valentine fat quarters.
It is simple to make because
I have used my own version of
a raw edge applique technique.
Supplies Needed:
(8) Coordinating fat quarters. You will need (5) dark colored and (3) light colored fat quarters. I used Giddy by Sandy Gervais for Moda.


- Scrap piece of freezer paper
- 1/4 Yard of Pellon Interfacing. I used a thicker Interfacing.
- 1/3 Yard of Moda Bella Solid Betty Brown SKU#9900-125
Cutting:
- Cut (1) 5" X 5" square from the freezer paper
- From each of the DARK fat quarters, cut (2) 7 1/2" X 20 1/2" rectangles. You will need a total of (10) 7 1/2" X 20 1/2" rectangles.
- From each of the Light colored fat quarters, cut (1) 5 1/2" X 18 1/2" rectangle. Choose one of your favorite light colored fat quarters, and cut an extra 5 1/2" X 18 1/2" rectangle. You will need a TOTAL of (4) 5 1/2" X 18 1/2" rectangles.
- From the Pellon Interfacing, cut (4) 5 1/2" X 18 1/2" rectangles.
- From the Bella Solid Betty Brown, cut (4) 3" X Width Of Fabric (WOF) strips.
Construction:
Step 1: Make the heart template
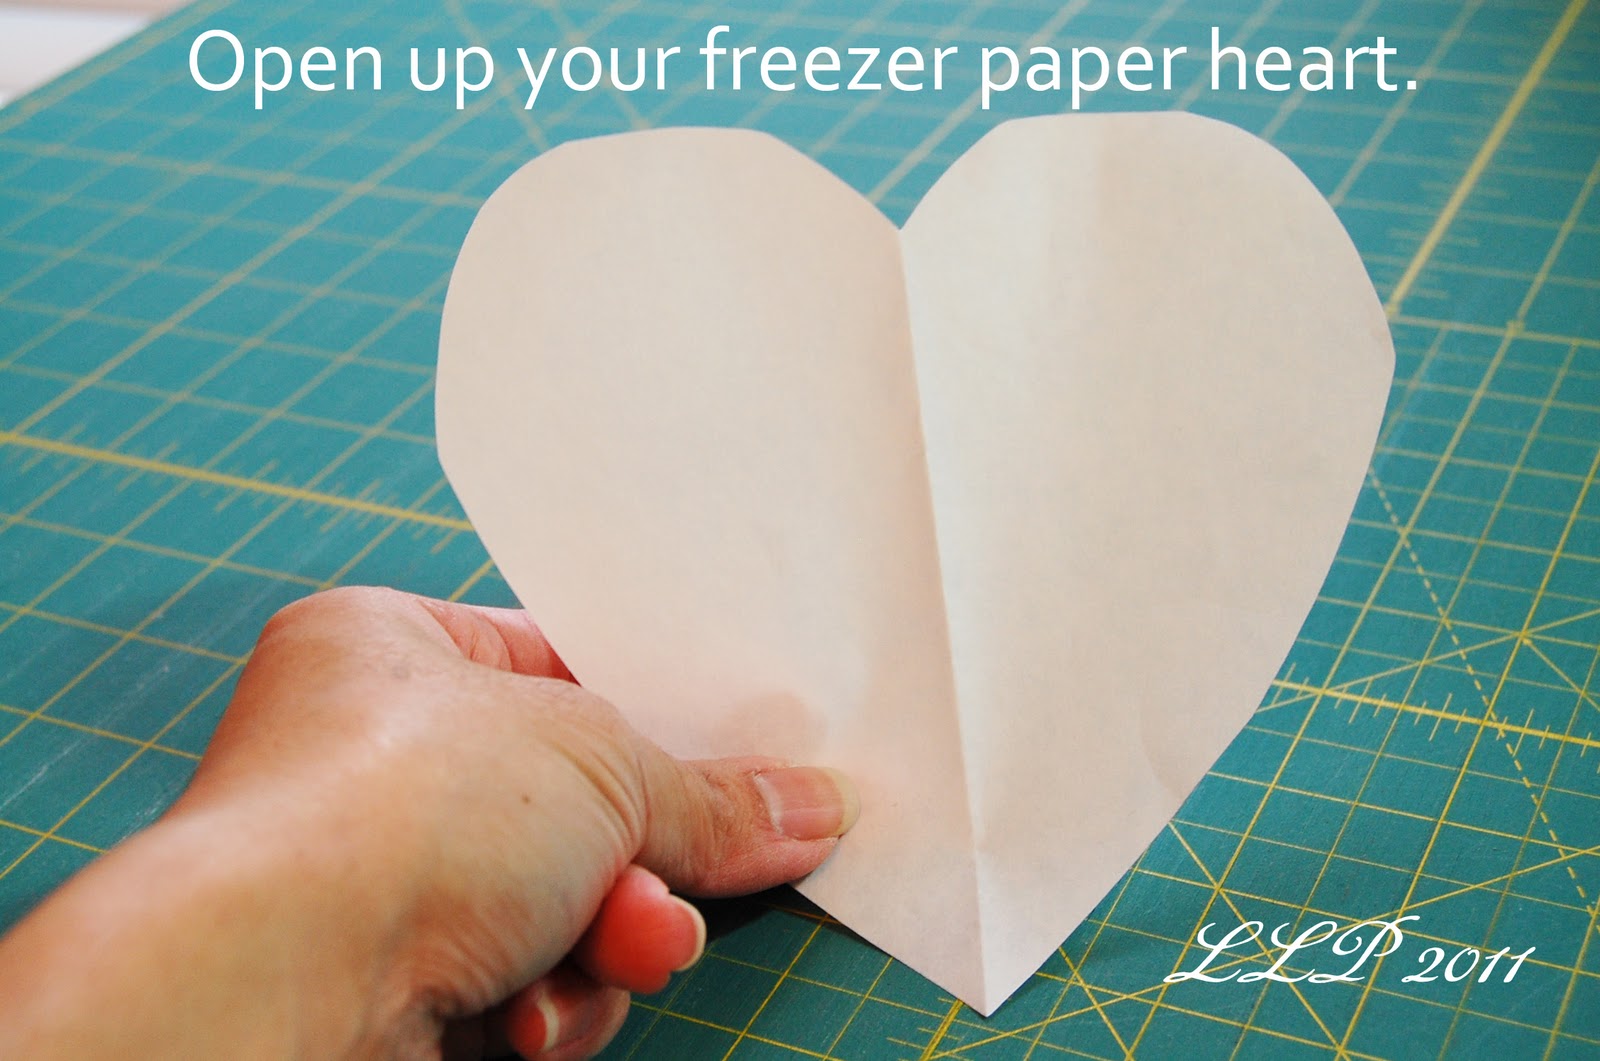
- Take 5" X 5" freezer paper square and fold it in half.
- On the dull side of the freezer paper,draw half of a heart. Don't worry about making it too perfect!
- Cut on the drawn line.
- Open up your freezer paper heart.


Step 2:
- Following the manufacturer's directions, adhere the Pellon Interfacing to the wrong side of a light colored 5 1/2" X 18 1/2" rectangle.
- Repeat for all (4) 5 1/2" X 18 1/2" rectangles.


Step 3:
- Place your freezer paper heart on top of the fabric side of the 5 1/2" X 18 1/2" rectangle.
- Make sure that the dull side of the heart is facing up!
- With a cool iron, iron the heart down in place.


Step 4:
- Using a pencil or fabric marking pen, trace the heart onto the fabric.

Step 5:
- Remove the heart.

Step 6:
- With the dull side facing up, place the freezer paper heart next to the drawn heart.
- Iron in place.
- Remove heart.
- Repeat until you have (10) hearts drawn.


Step 7:
- Cut out each heart.


Step 8:
- Fold the 7 1/2" X 20 1/2" rectangle in half.
- Press to create a crease.
- Fold the rectangle in half again.
- Press to create another crease. This will create a grid which will help you line up all of your hearts.
- Open up the piece of fabric.


Step 9:
- Place your heart on top of the 7 1/2" X 20 1/2" rectangle.
- Place the bottom tip of the heart 1 1/4" above the horizontal crease that you created.
- Use the vertical crease to line up the top of your heart. I placed the "dip: in the top of the heart on the vertical crease.
- Pin the heart in place.


Step 10:
- Using a 1/4" seam allowance, sew around the edge of the heart.
- Tip: I increased the stitch length to 3.0. I also used my walking foot because of the thickness of the heart/Pellon Interfacing. Also S-L-O-W down when you are sewing the heart. It really does help to made the rounded corners of the heart!
- Another option would be to use a blanket stitch.


Step 11:
- With Right Sides Together (RST), fold 7 1/2" X 20 1/2" rectangle in half.
- Give it a quick press with the iron to reset your crease.
- Using a 1/4" seam allowance, sew along the left and right side of the rectangle.
- Leave the top open.


Step 12:
- Clip the bottom corners.

Step 13:
- Turn the rectangle inside out.
- Push out the corners using a chopstick or an unsharpened pencil.
- Press the rectangle.

Step 14:
- Repeat steps 8-13 for each 7 1/2" X 20 1/2" rectangle.
- Make a total of (10) heart pendants.


Step 15:
- With RST, sew (2) Bella Solid Betty Brown 3" X WOF strips together.
- Press the seams open.
- Repeat for the other (2) Bella Solid Betty Brown 3" X WOF strips.

Step 16:- With RST, sew the (2) Bella Solid Betty Brown strips together to create one long strip.
- Press the seams open.
- Fold the top half of the strips over (about 1/2") toward the middle of the strip.
- Press down the entire length of the strip.
- Fold the bottom of the strip over (about 1/2") toward the middle of the strip.
- Press down the entire length of the strip.


Step 18:
- Fold the strip in half again.
- Press down the entire length of the strip.

Step 19:
- Begin pinning down the Bella Solid Betty Brown strip.
- Slide your heart pendant in between the fold of the Bella Solid Betty Brown strip.
- Measure in about 30" from the start of your strip before you start to place your heart pendants. This will allow you to have plenty of room at the start & end of garland. This is helpful when you are trying to hang up your Be My Valentine Garland.
- I left about 1/4" gap in between each heart pendant.


Step 20:
- Stitch down the center of the Bella Sold Betty Brown fabric strip.

Your Be My Valentine Garland in now complete!


To enter the giveaway for the
$50 gift certificate
to Fat Quarter Shop,
please leave a comment on this post.
A winner will be drawn
on Sunday, January 16, 2011.
Remember, in order to be
eligible for the $100 gift certificate
to the Fat Quarter Shop
you must enter all of the
giveaways along the blog tour!
Until Next Time ... Happy Quilting!
Remember, in order to be
eligible for the $100 gift certificate
to the Fat Quarter Shop
you must enter all of the
giveaways along the blog tour!
Until Next Time ... Happy Quilting!


